Something Crashed Here
2019 UFO Build
This page is best viewed on a web browser.In October 2019, I was commissioned to create a scenic piece as part of a fundraiser event for the Leukemia and Lymphoma Foundation of Las Vegas. “Hallosween” is a yearly Halloween party held by the UNLV chapter of the Society of Women Engineers in collaboration with many other student organizations. The UNLV chapter of the Themed Entertainment Association was tasked with theming the event. As part of the brainstorming, I proposed to create an Unidentified Flying Object as part of the “Raid Area 51” narrative that had played out nationwide a month earlier. Once approved I enlisted my friend Nicole to assist with the build.
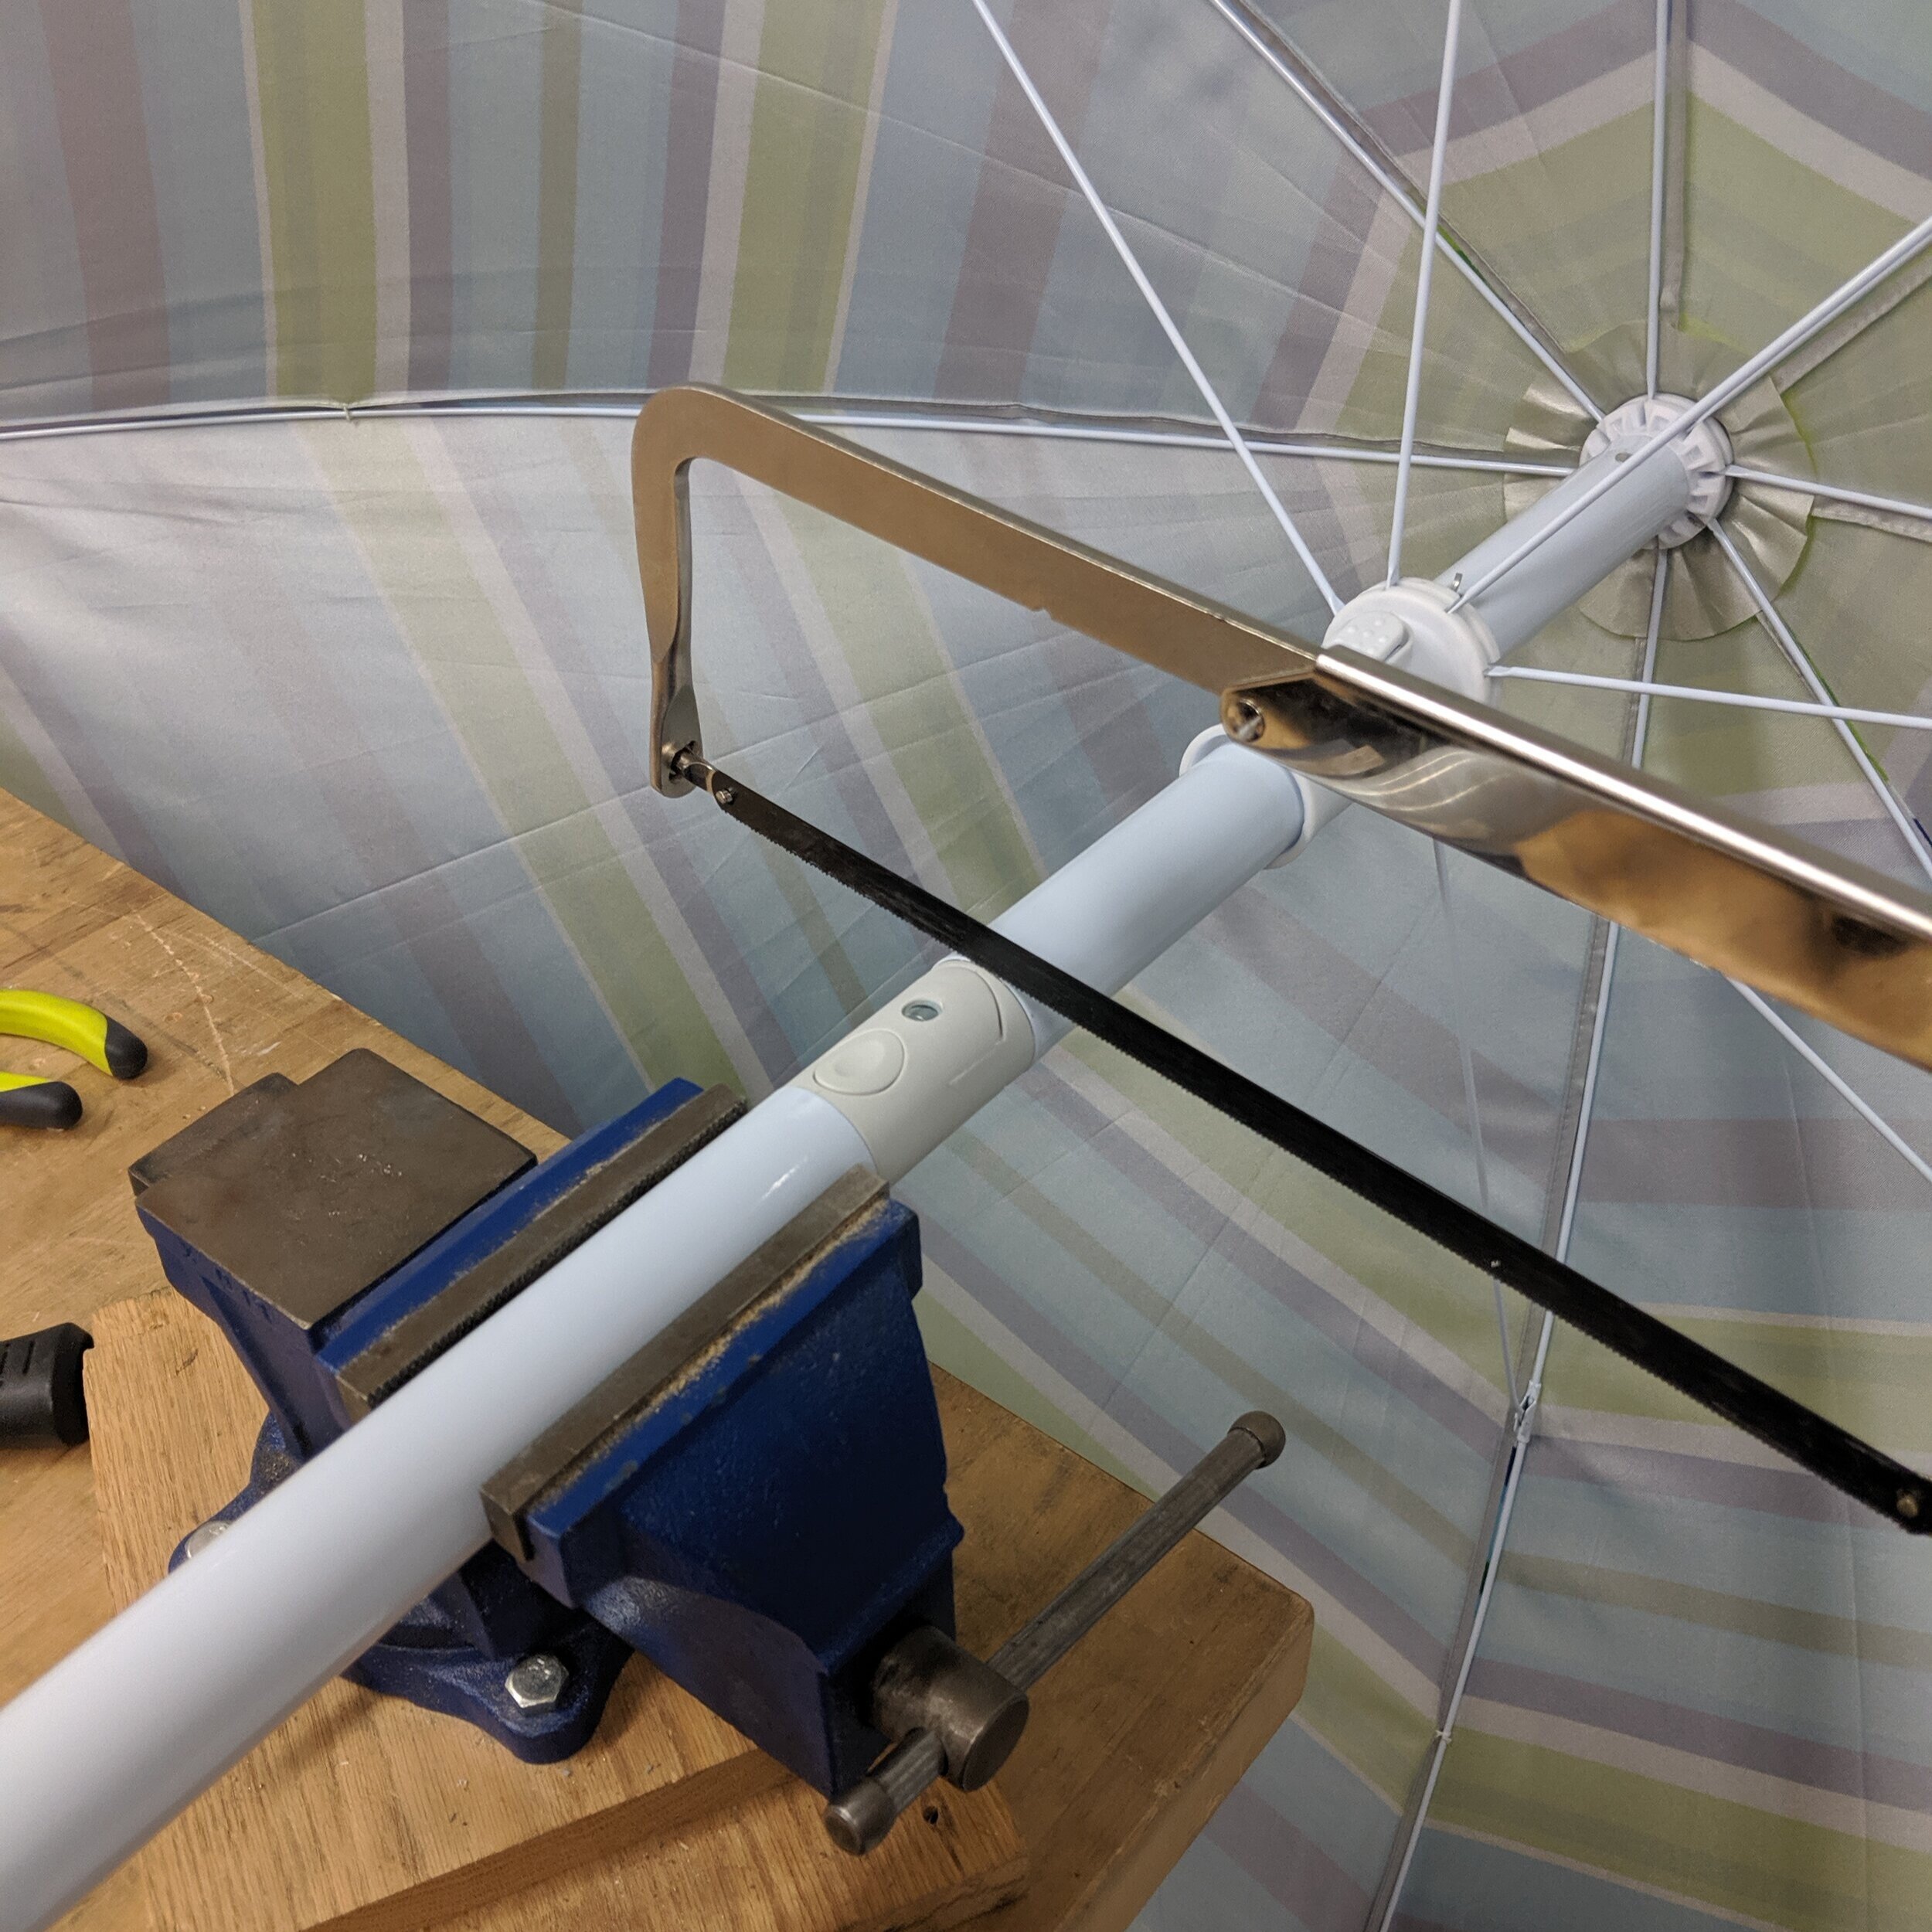
The beach umbrellas stems had to be shortened in order to mate in the middle which was done with a handsaw, and the tripod was simply made of wooden spars with tripod lashings.
We doubled the tripod in size by adding another spar to each leg using sheer lashings. The theory for using these pioneering lashings instead of other methods of construction was simplicity and comfort. I had tied these knots many times before and knew that they would be secure.
(UP) Sheer lashing close up
(RIGHT) Extended tripod
The original plan was to create only half of the UFO and support it off of a backer board, which also had a scenic backdrop so that people could take photos underneath it as though they were abducted. This idea was abandoned when we looked into the price for the raw material before sculpting and realized that it was out of budget. We also ran into the issue that in the original location for the event, we would have difficulties getting permits for hanging something over the heads of attendees. During further planning, it was determined that instead of foam, two beach umbrellas together would give an excellent hull for the UFO. Instead of hanging the UFO off of the wall, we could construct a tripod and have it freestanding.
Once the basic tripod was up, we realized that it would not be tall enough for people to stand underneath. So the decision was made that it needed to be taller.
After a couple of tests of our paint on the umbrellas, we quickly realized that we would need a better primer. The waterproof nature of the umbrellas made it challenging to get any paint or primer to stick to the surface. A colleague of ours was kind enough to loan us a product called Gesso. Gesso is a water-based paint primer used for canvases for oil and acrylic paints. After using that, we had no problems getting the paint on.
Meanwhile, a hole was cut into the bottom umbrella to act as the engine. It was reinforced with hot glue and gaffers tape. The other side of the hull was secured by the umbrella stem using duct tape.
Test piece
Gesso application
Final painting
After we finished the painting, the two umbreallas were mated together using gaffers tape on six of the eight sides. The other two sides were left open so we could access the inside of the UFO. The cockpit was simply a large tupperwear bowl and glued to the top side of the ufo. A hole was cut into the umbrella to access the inside of the cockpit. in order to hide the wooden-ness of the tripod support they were wrapped in black shrinkwrap. In order to provide power and fog to the inside of the UFO, a tube and an electrical cable were also wrapped up inside tripod legs.
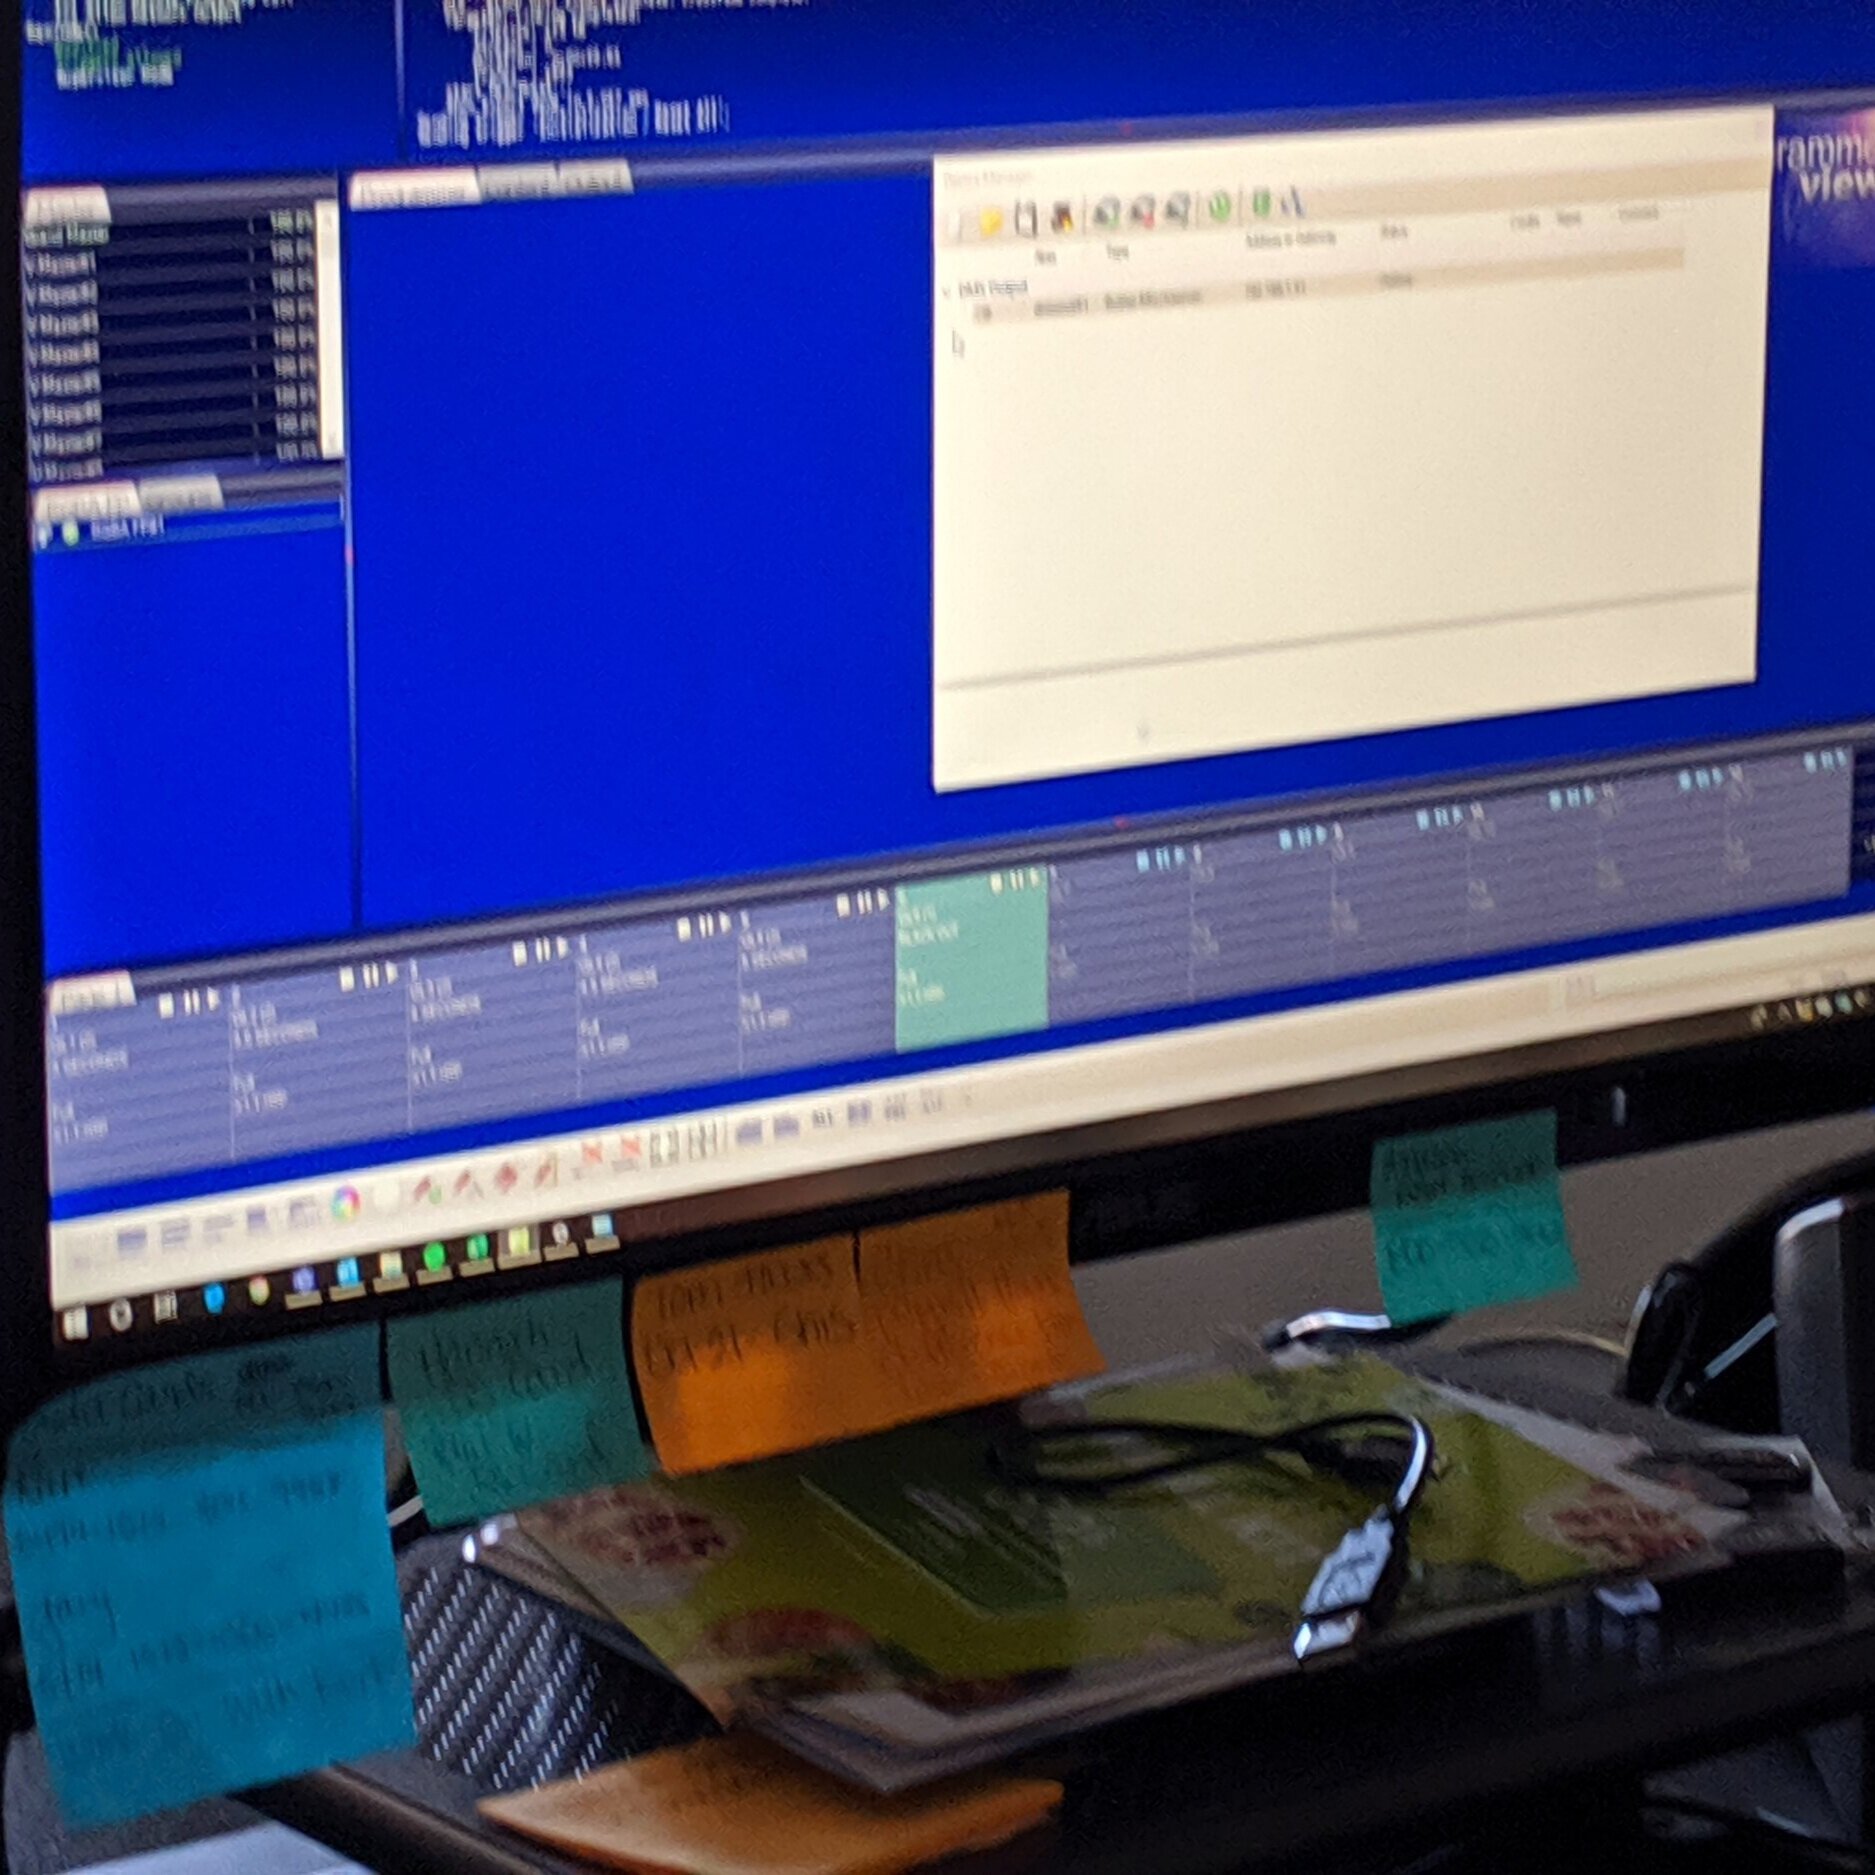
To get the lighting effects we wanted, we had to use a mixture of products. Nicole spent her time working on the LED Light strip that would span the circumference of the UFO. She had many difficulties trying to use a pixelated strand but was unable to power it adequately. Ultimately she used a different ‘dumb’ string of LEDs and used an Arduino UNO to modulate the power into a specific (green) string of the led lights. Meanwhile, I was using an off-brand built flat pack light with a Butler DMX controller provided by a colleague to pulse yellow-green light that would project through the UFO Engine hole.
After repainting the entire hull, we attached the LED tape to the edge and began the process of mounting the legs. To get this to work, we cut and reinforced some holes in the bottom of the hull and inserted our legs into it. Once inside, we fixed it to the rigid frame of the hull. This process was very intensive, and it slowly became clear that we had not planned far enough in advance. While the tripod is a sturdy structure and can stand on its own, I did not realize that setting it up and attempting to make it stable would rip and tear the hull so much.
Additionally, the added weight of the effect lights and power made the structure sway in the wind, a scary sign when you were planning to have people underneath it. Lastly, due to the damage that the hull sustained, it would not be able to travel from the build location to the display location. With safety being our priority, we elected to remove the tripod support and attempt to resurrect the failed project.
With no way to mount the piece, we had to think of ground display approaches. We were fortunate that the location that we were allocated was next to a large wall/ planter. It was Nicole's idea that we instead create a “Crashed ship” instead of one that had landed. On location, we weighed down the craft from the inside. The high intensity, low lying fog machine that we had intended to use had irreperable issues, and instead, we mounted a conventional fogger underneath, inside the planter, to shot up from above.
The final result was a fascinating and satisfying scenic piece that drew in people and brought more eyes to the event than had initially been known about it. The addition made for one of the most exciting contributions to the event and is used as an example to this day.
Just a short clip of the final product with fog effects


